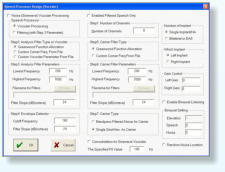
Secret 1: Cochlear Implant Simulation (Ctrl+Alt+F6)
After starting the training or testing tasks, please press (Ctrl+Alt+F6). The cochlear
implant simulation dialog will pop out. Enable “Noise or Sinewave Vocoder Processig”
and set the appropriate speech processor parameters and click “OK”. During this
training or testing session, the sound you hear will be processed by the speech
processor. This is an excellent tool for normal-hearing listeners to understand how
the speech may sound with cochlear implant device.
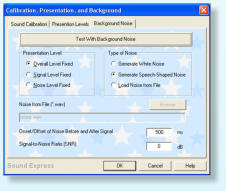
Secret 2: Generate Noisy Speech with Various Background Noise
Another good feature for Angel Sound Program is that the progam can generate any
noisy speech to mimic the real listening situations based on the quiet, clear speech
signals. Again, after starting the training or testing tasks, please press (Ctrl+Alt+F8).
The “Calibration, Presentation, and Background” dialog will pop out. Select the
“Background noise” tab in the dialog. You will be able to set the noise type and the
desired signal-to-noise ratio. You can also use the external sounds or music as the
background noise. if you think that the current task is too task, it is the perfect
approach to increase the difficulty of the task.
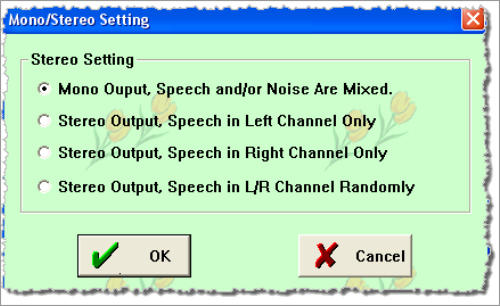
Secret 3: Control the Sound Source by Using Stereo Setting
In real life, sounds come from all over the place. This function allow the user to
control where the target speech and background noise come from. Press click the
“Stereo” button in the right bottom of the screen (See left figure, panel #2). A Stereo
Setting dialog will pop out. There are four options, including mono output, stereo
output with speech in left, right, or random. Of course, two speakers setting are
required for using this function.
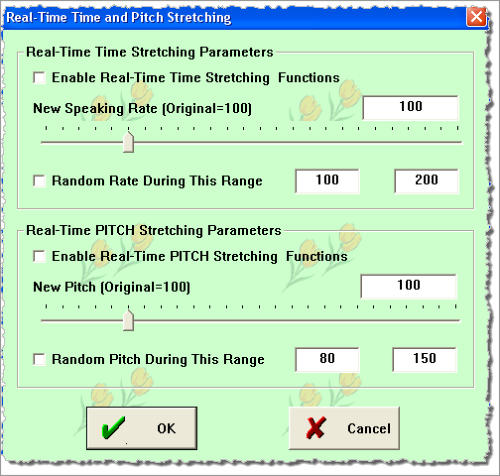
Secret 4: Control the Speaking Rate and PITCH by Using Speed Control
In real life, people speaks at very different speaking rate. Someone speaks very fast
while ohters talks very slowly. It is important to understand speech at all these
situations. This function allow the user to control the speaking rate of the speech.
Press click the “Speed” button in the right bottom of the screen (See left figure, panel
#3). A dialog will pop out. The normal speed is 100, which is the speaking rate of the
original recording (typical speed). 50 means that speaking rate is 2 times slower
while 200 means that the speaking rate is 2 times faster. Also, different speakers
have different spectrum due to the difference in vocal tract. This function also allows
the user to adjust the pitch of the speech signals. The normal pitch is 100. 50 means
that the spectrum is downshifted by one octave. 200 means that the spectrum will be
upshifted by one octave. The speaking rate and pitch can be set as a fixed level or
can be randomly set in the given range.
Secret 5: Data Synchronization between Local PC Database and Remote Server
It is very easy to synchronize the training and testing data between local and remote
server. After the program is running, login to the remote server using your account
name and password. Click the “Sync” button in the right bottom of the screen (See
left figure, panel #1). A new data transfer window will pop out. Click the Sync button
in the middle to synchronize all the data or any specific session between local and
remote server. Note that version 5.03.01 and an existing account is required for
database synchronization function.
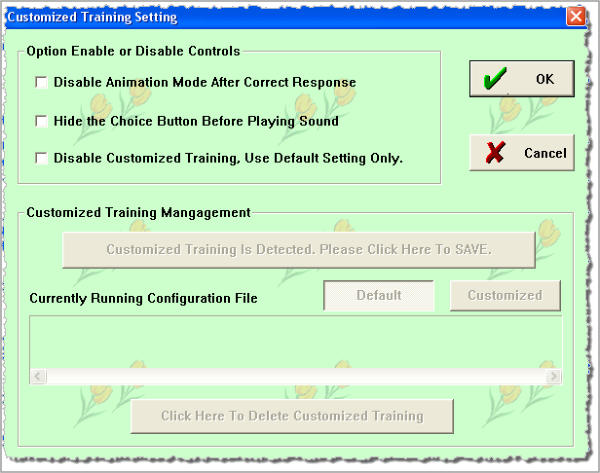
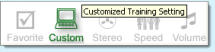
Secret 6: Customized Setting for Individual Training
While the default configuratioon in each training module and group is based on the
particular feature and training purpose, the latest version also allows the users to
modify the default configuratin and save the NEW file as the individualized “default”
configuration. Click the “Custom” button in the right bottom of the screen (See left
figure, circled image). A customized training setting window will appear. Click the
button in the middle of the window to save the current (modified) configuration as the
NEW configuration file. Note that this button is only enabled when the program
detects some changes in the configuration. Otherwise, this button will be disabled.
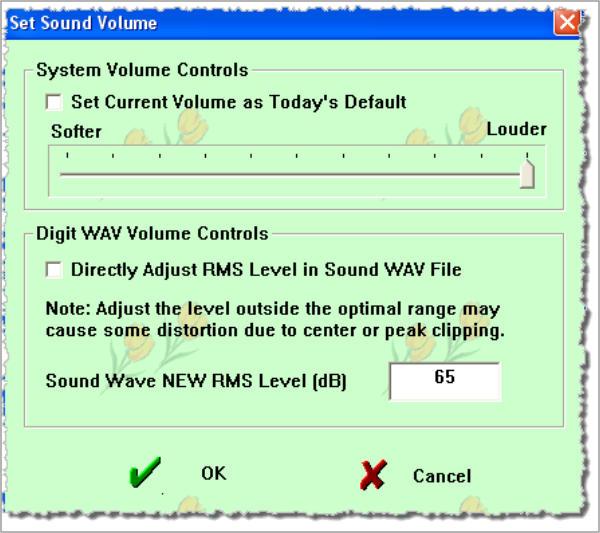
Secret 7: Custom Sound Volume Controls
The program automatically set the system sound level to the maximum in the default
setting. The RMS level of sounds is fixed at 65 dB (digit form) in the default setting. If
the sound is still too soft, the user generally can use the external speaker to amplify
the sound level. If there is no external speaker, the maximal sound level is dependent
on the computer setting. Some laptop computers may have relatively low sound
volume even with the system volume setting is maximized. In this case, one possible
solution is to increase the RMS levels of sounds (digit form). The current default
setting is 65 dB. This function allows the user to modify (mostly incrase) the RMS
level of signals to make sound louder. To avoid the peak clipping, the maximal value
is limited to 85 dB. To modify the volume, click the “Volume” button in the right bottom
of the screen. Enable and specify the desired value of RMS level.
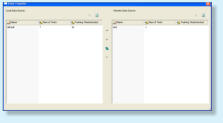
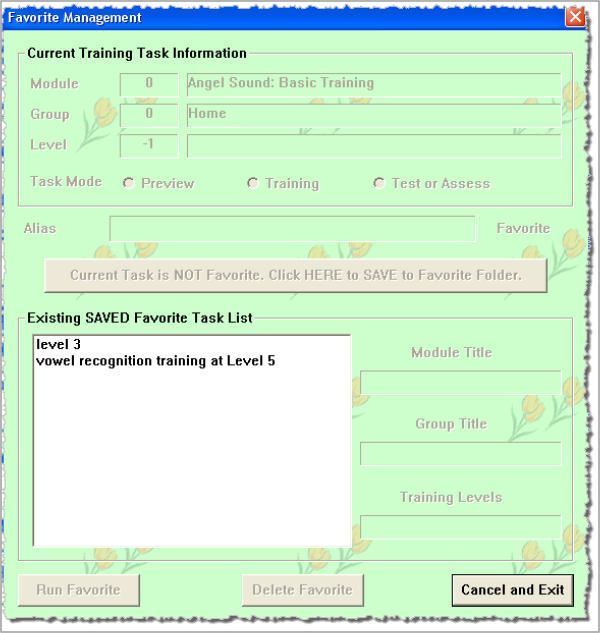
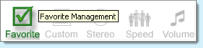
Secret 8: Favorite Management Controls
The program allows the users to save their favorite training or testing tasks into the
FAVORITE folder. To save the task into the Favorite folder, start the task as normal
procedure, then click the “Favorite” button in the right bottom of the screen (see Left
Top Figure). The Favorite Management window (see Left Bottom Figure) will appear.
Enter the Alias name for the current task and Click the button in the middle to save
the current training or testing task into the Favorite List. To run the favorite task, click
the “Favorite” button at any time, choose the desired training task in the Favorite List
and Click the “Run Favorite” in the left bottom of the window or simply double click
the training task in the Favorite List to Start the training. The user can easily delete
the training tasks in the Favorite List or Change the Alias name in the favorite list by
simply choose and click the “Delete” button in the middle bottom of the screen. The
Favorite Management allow the user to perform various training or testing tasks
across different modules.